Jul 30th 2015
Monogrammed & Embroidered Tees 'How To" Guide
I’m sure that you have seen some super cute monogrammed tee shirts this summer. My college and high school aged daughters love them…um…and so does this Mom:). There are lots of ways to make these, but here is a method that I like to use.
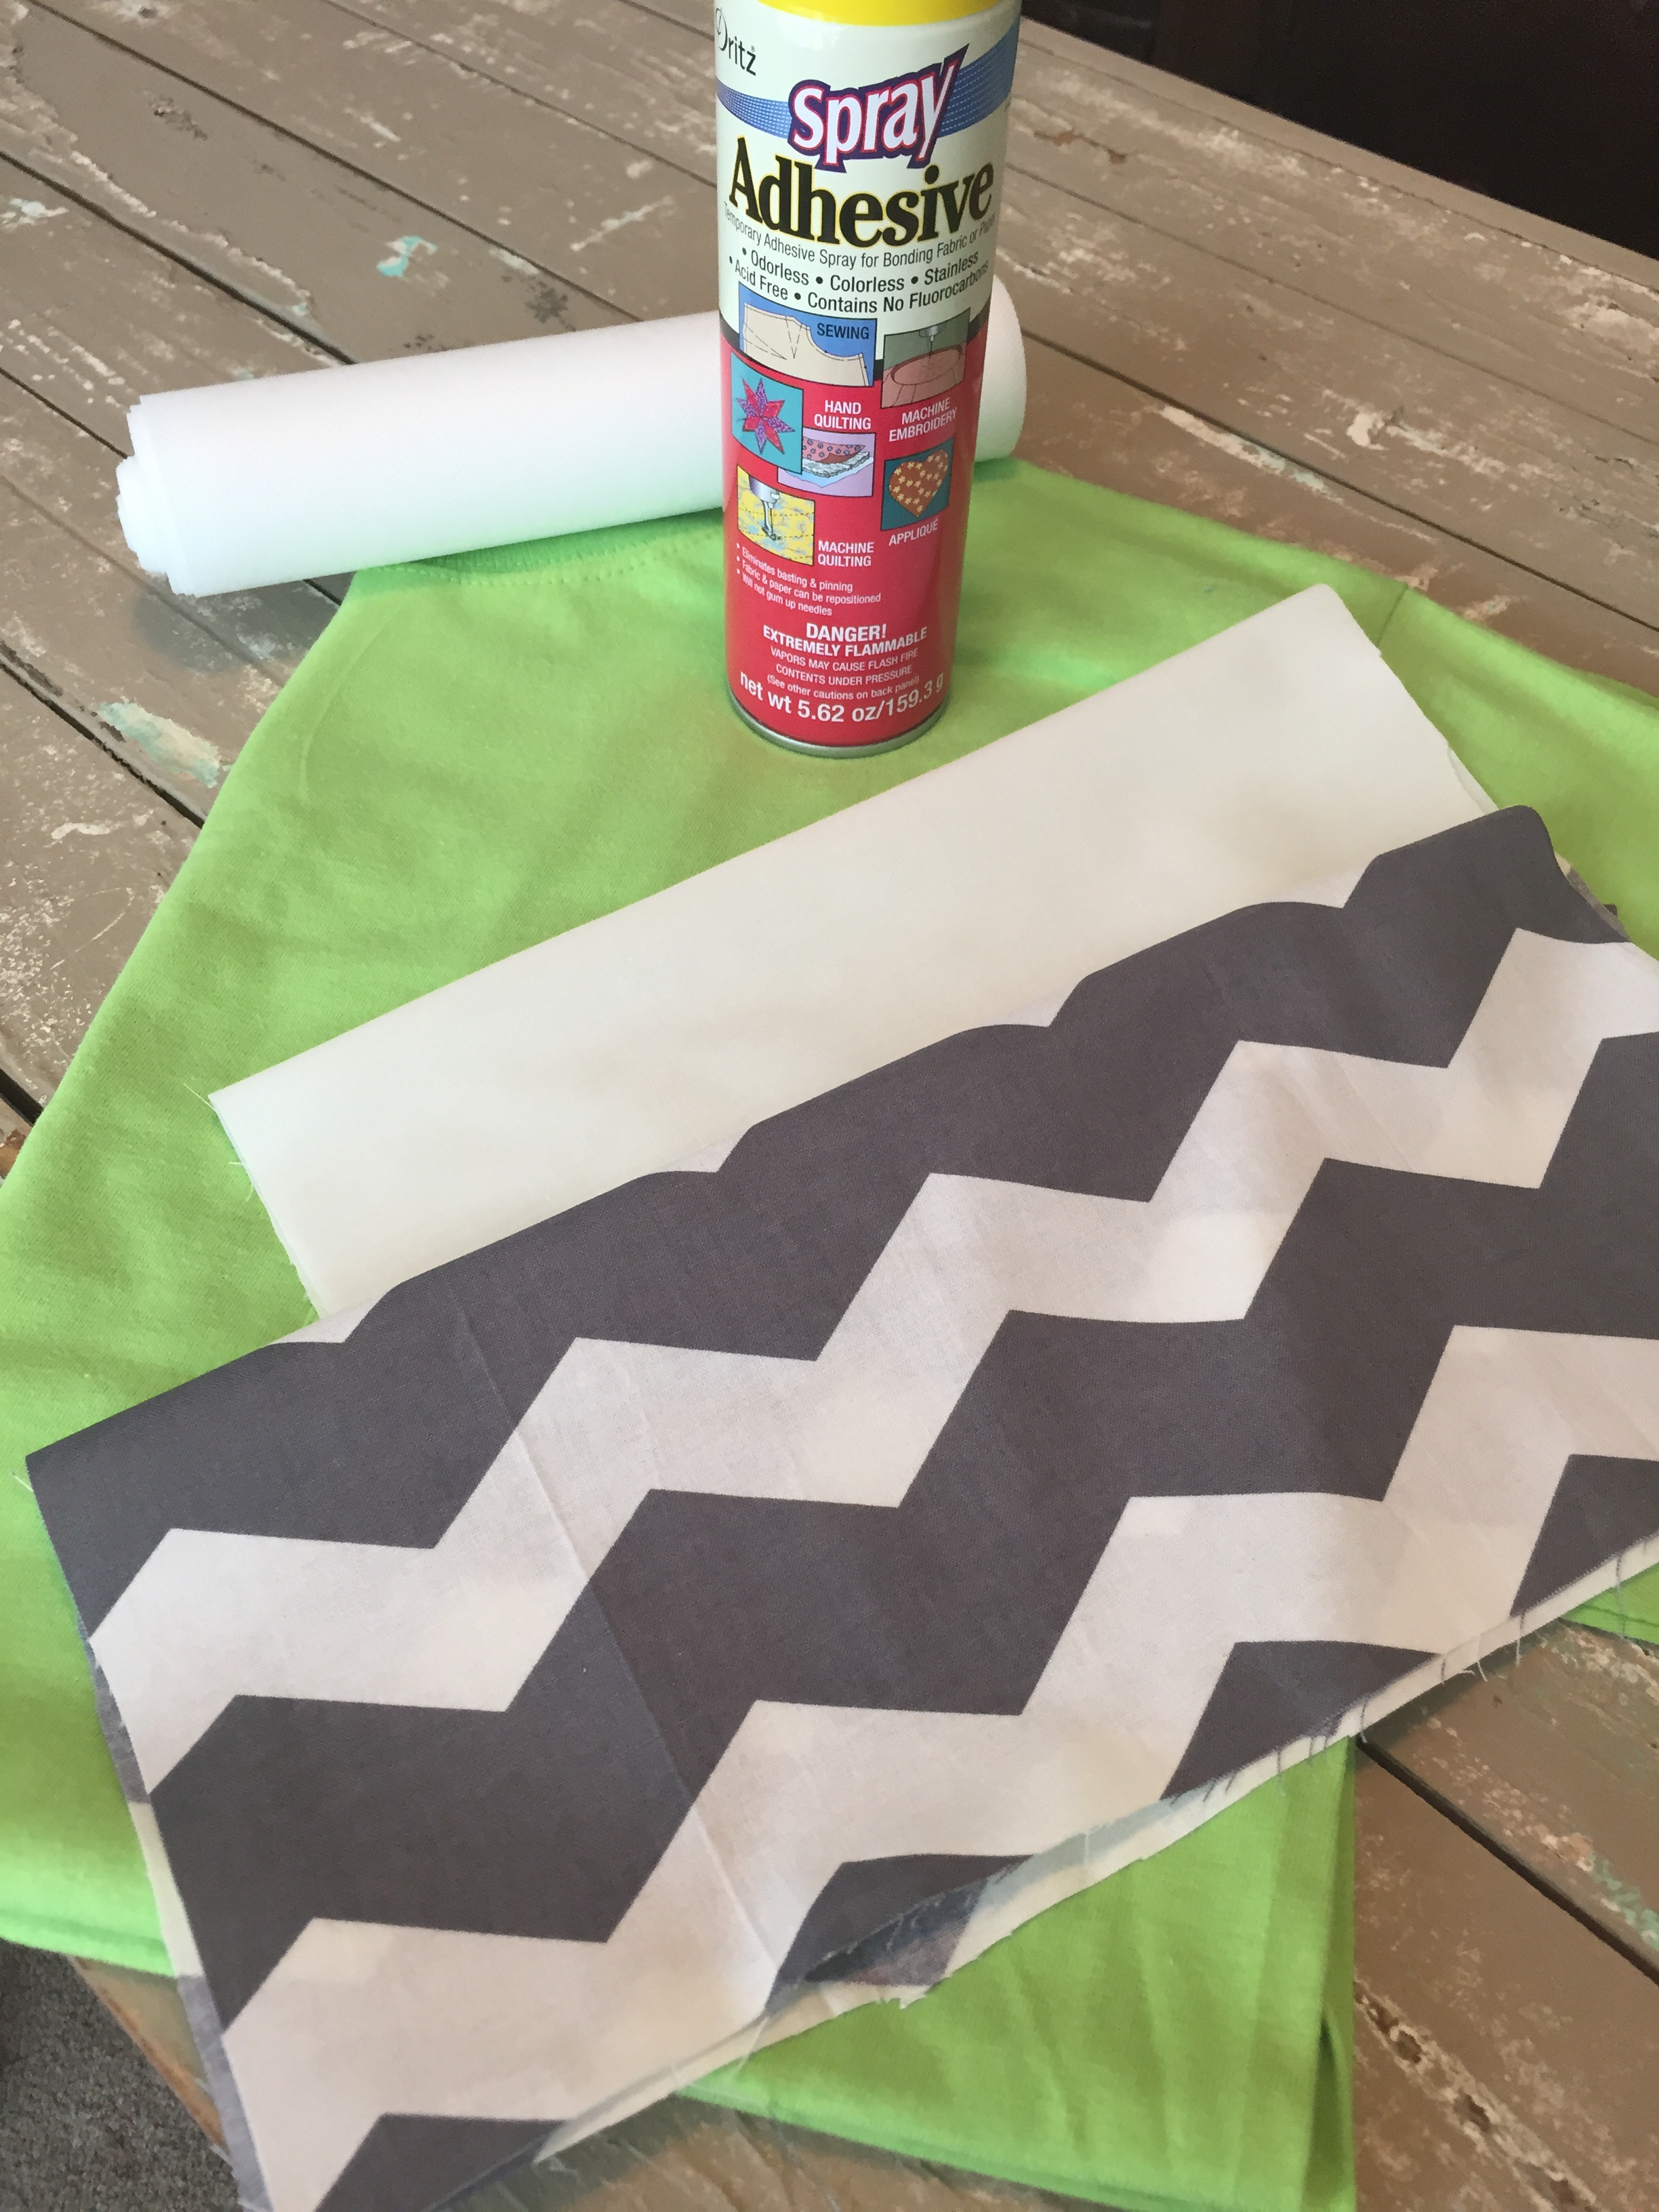
Begin with a purchased tee. It can be long or short sleeves and can have a pocket or not have a pocket. In my sample I’m using a lime green short sleeved pocket tee. Choose a fabric that you like that coordinates with your tee. I’m using a bold grey and white chevron. You need a small remnant of fabric for backing. I’m using a thin white piece of cotton. Now the fun part…:) Go to www.joyfulstitches.net or https://www.etsy.com/shop/JoyfulStitchesEtsy and pick and purchase your favorite design that will fit your pocket. Most of my designs for the 4x4 hoop will work for adult and teen sizes. I’m going to stitch the 'K' design from my ‘Just Girly Monogram Set.’
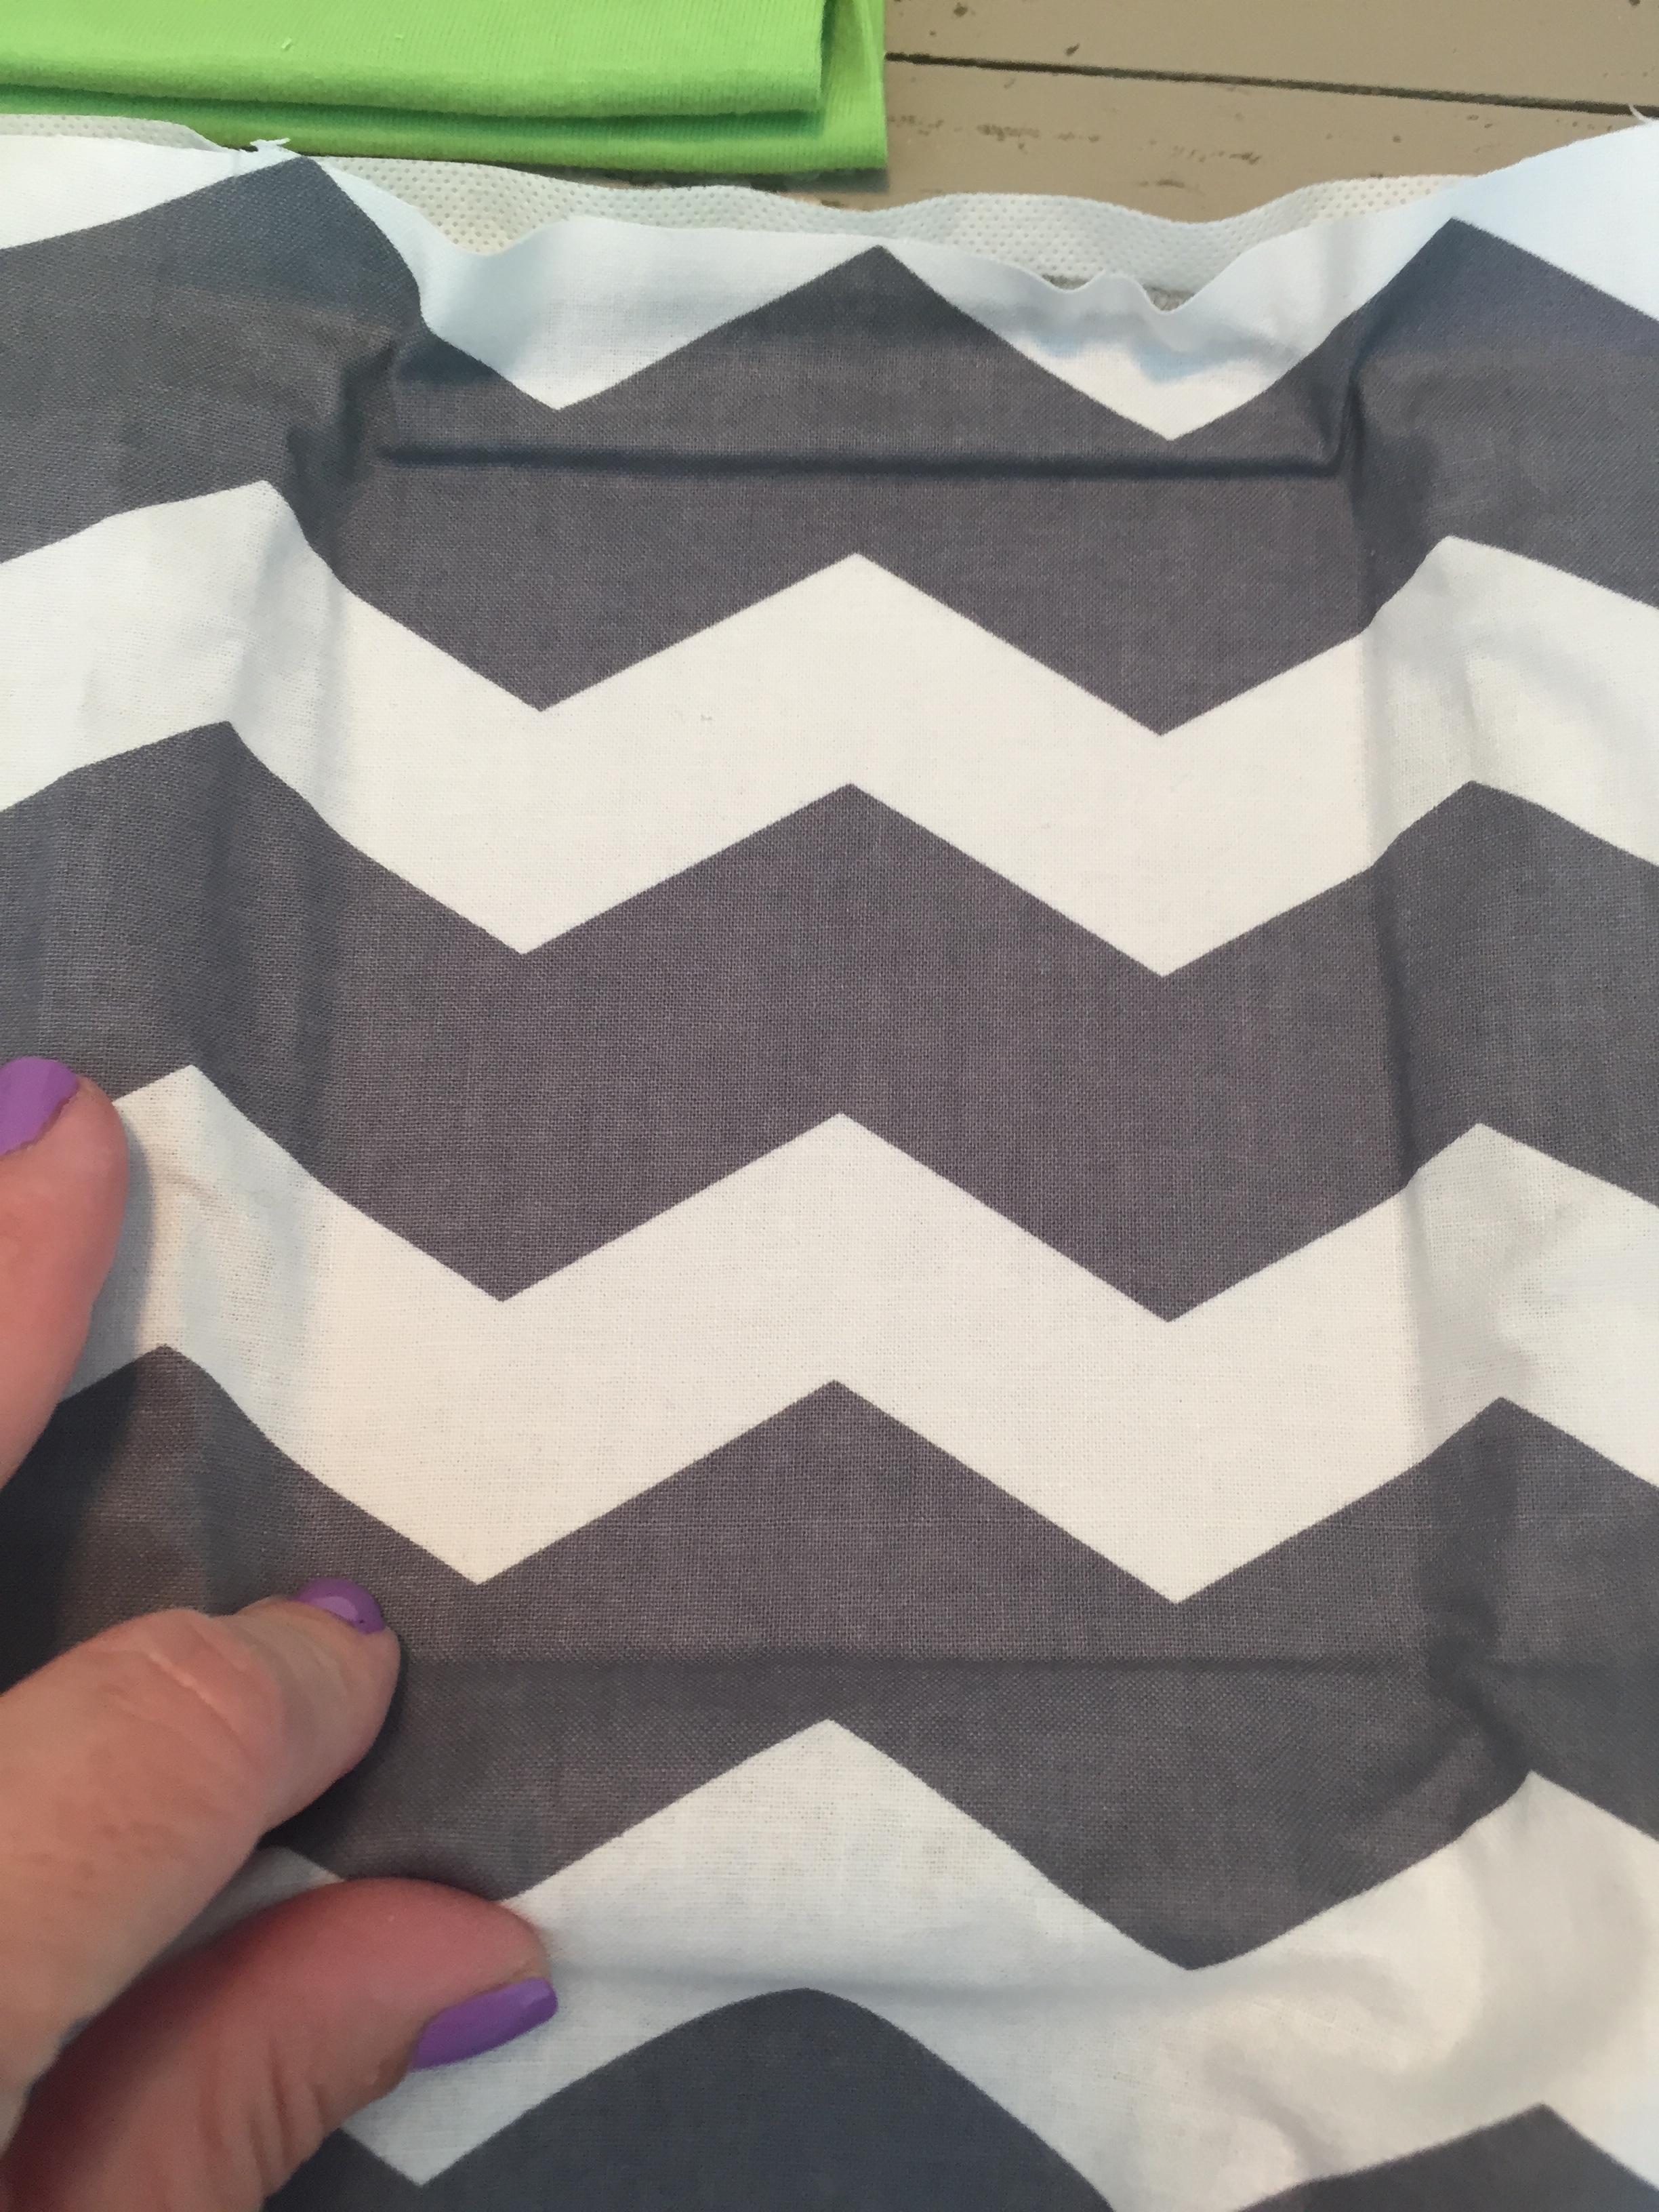


Hoop a piece of stabilizer and spray with temporary spray adhesive. Smoothly and firmly attach your fabric to the stabilizer. Stitch the design that you have chosen. Take a piece of thin fabric or stabilizer and place over the existing pocket of your tee and trace the shape. (If you are working with a tee that doesn’t have a pocket, draw one the size you want to use or trace the pocket size and shape from another shirt in your wardrobe.) Cut out the fabric along the lines you traced. This is your pattern/design placement guide. Take your pattern and place on top of your embroidery. Move the embroidered piece around to center and position the design where you want it to be on your pocket. Lay your backing fabric over this and trace the pattern shape onto the backing. Remove the pattern carefully, so as not to shift the design or backing fabrics. Check placement again and pin layers.


Stitch the layers together, leaving an opening along one side to turn later. Trim edges to ¼ inch, clipping any curves and trimming corners. Turn right side out and use a tool to make corners crisp. Finger press all edges, including the opening in the side. Press with an iron. Position pocket on tee. (If your tee has a pre-existing pocket, position new pocket on top of it.) Pin in position. Beginning at one top corner, stitch continuously down the side, across the bottom, and up the other side, pivoting at the corners as needed.

Voila! Super cute tee for you or a friend or family member. Be creative! The possibilities are endless – Joyful Stitches has lots of designs and monograms to choose from.
Happy Monogramming!